Process Digitization with SharePoint

Start now
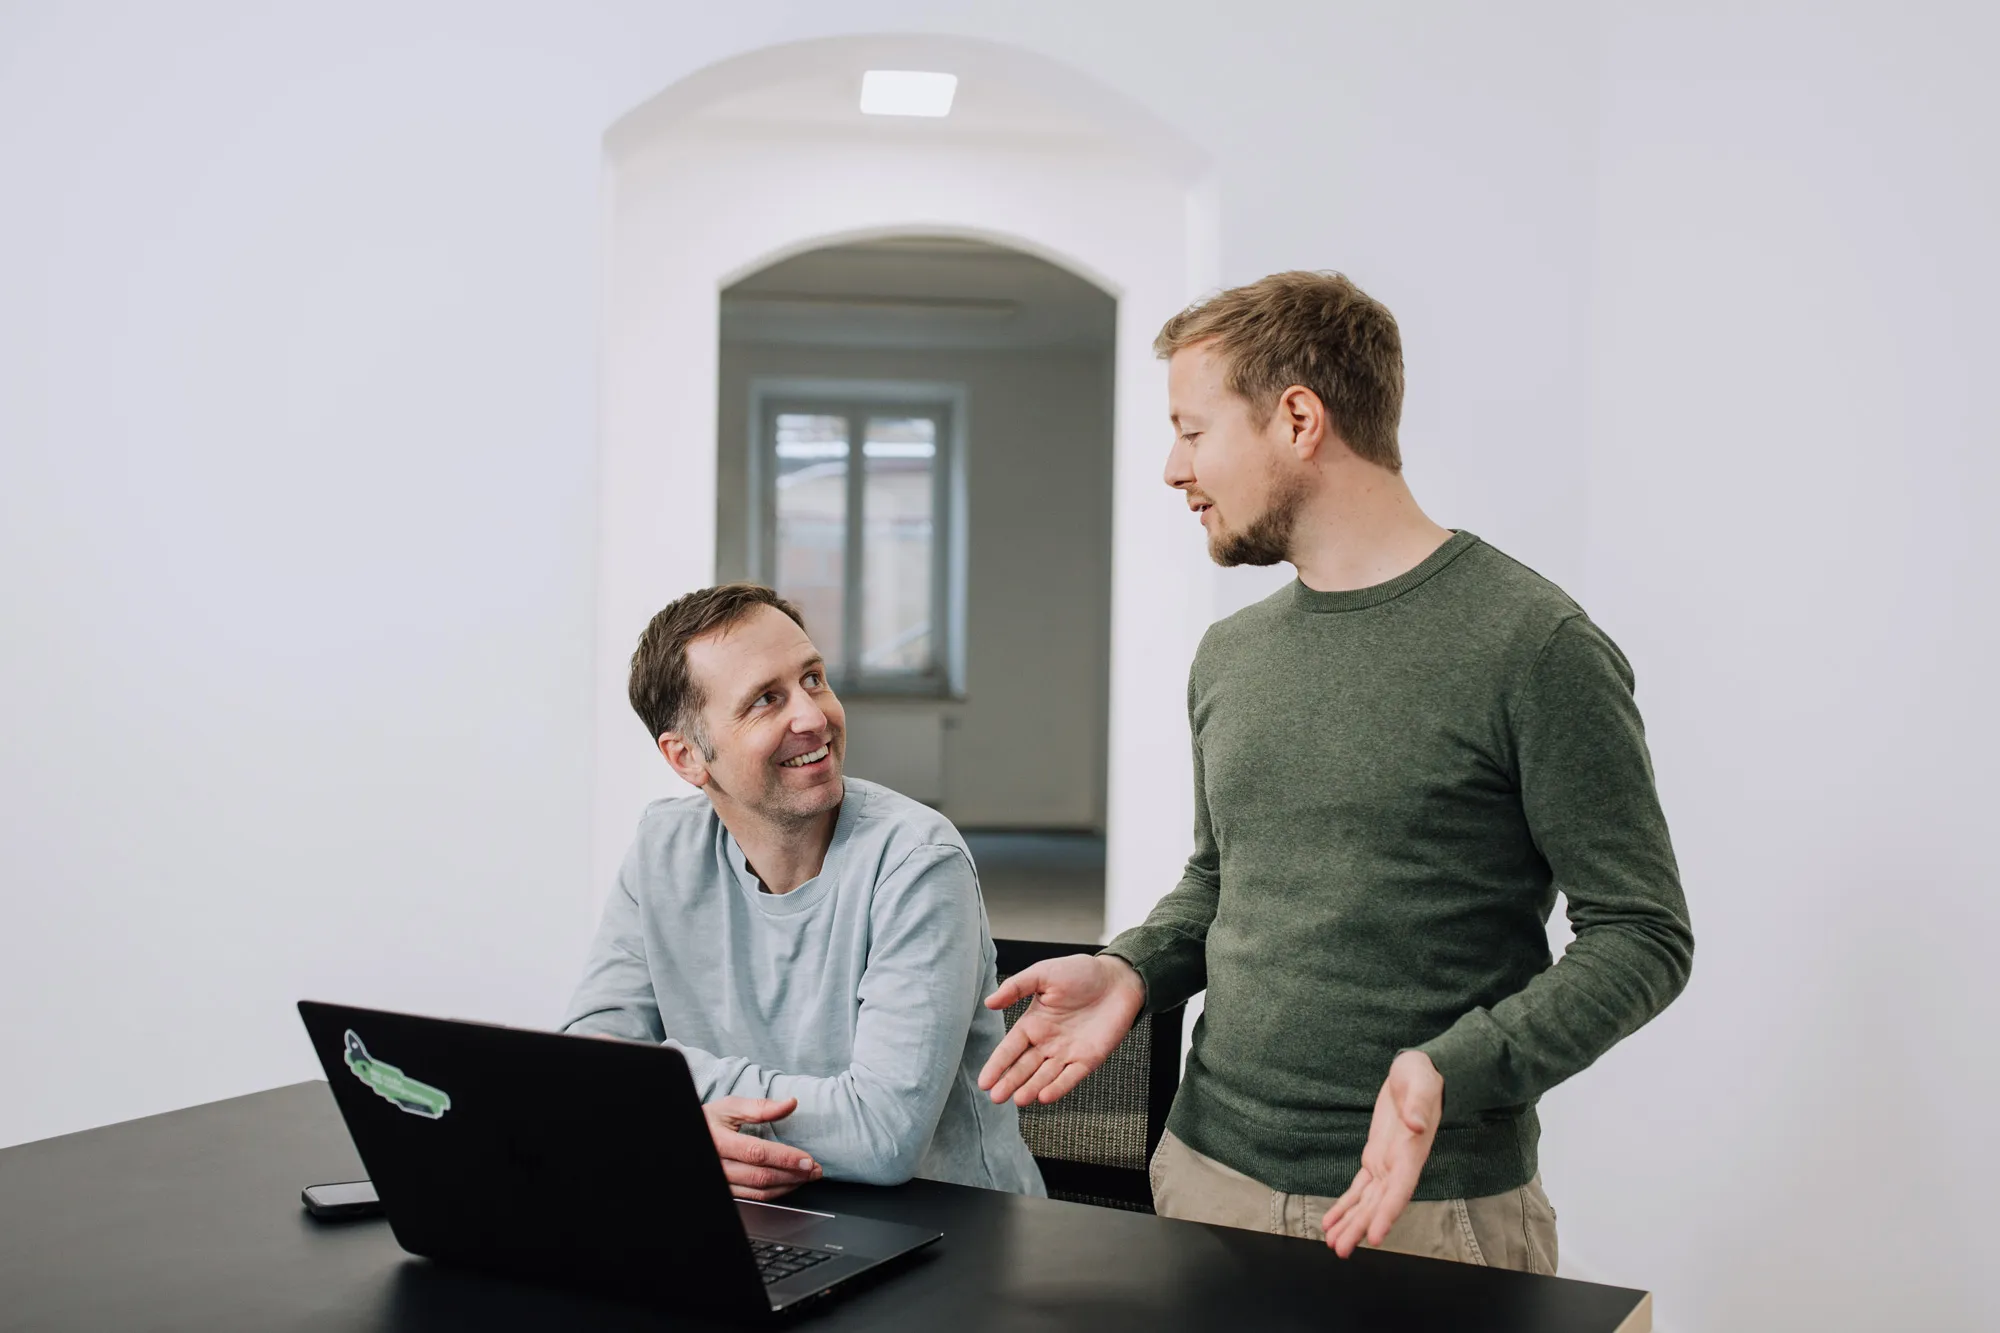
Let's talk about your workflows
We know the feeling of wanting to get started straight away. Let's create the perfect set-up together.
30 minutes to create your low-code setup
Individual plan for your first workflow
Time for Q&A
Book your free call now!